10 Important 7 Days To Die Tips - Alpha 20
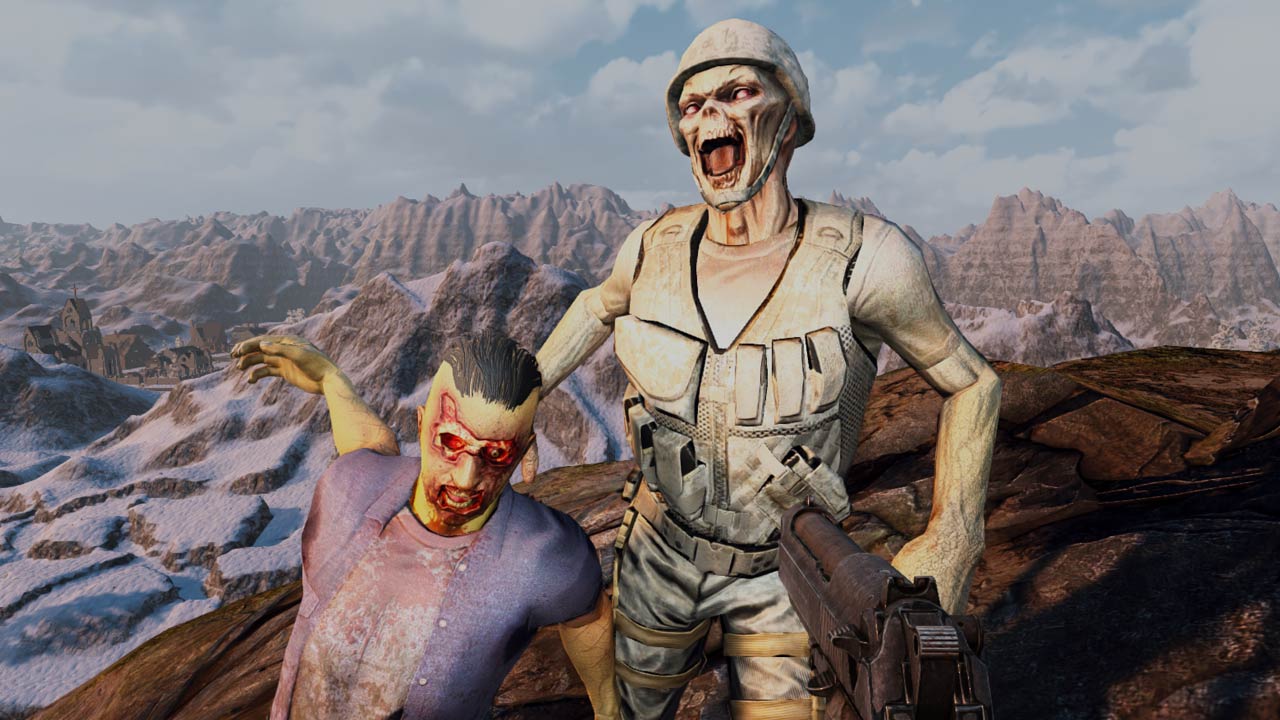
7 Days to Die has been inspiring many survival gamers for several years and is constantly releasing new content. Since the game does not have a comprehensive tutorial and you gradually learn one or two tricks with experience, here are 10 important 7 Days to Die tips for you.
The following tips refer to the Alpha 20 !
The Basics of Survival
Every beginning is difficult - sometimes more, sometimes less, depending on your attitude! First of all, you should go through the basic tutorial . Craft an axe, clothes and sleeping bag, then do a bit of looting to stock up on supplies. You should especially pack food and drink .
To survive the first night, you need a safe place to hide. Place your sleeping bag here, because you will spawn there after each death (and there will be a few at the beginning). Use the time to eat , go through the skill menu and craft things that you need for the next day. But be careful: don't be too loud, because the zombies can hear you !
Food gathering & farming
Before I hunt you down in the area, you can grow your own food. To do this, you need beds that can be made from wood, rotten meat, nitrate powder and clay. They should be placed in the fresh air and you can plant corn, potatoes, pumpkins, etc. in them. The harvest is then done with a punch .
There is a skill for farming called "Living off the Land" . With this skill, you can harvest more fruit/vegetables and gradually produce seeds.
With "Chef" you can develop your skills as a cook. The higher the level, the more dishes are unlocked and can be cooked at the fireplace.
find iron
At some point, the time will come when you need a lot of iron. Before you dig through the earth like a mole to find it, there is a little trick. Every now and then you will come across a chunk of iron on the ground that you can mine. It hides an even larger deposit beneath it. Simply hit the earth with the pickaxe and mine until there is nothing left.
The advantages of a group
As soon as you enter the game, you should immediately send out a group invitation or accept one. Being in a group not only means that you always know where the others are or what their health is, but you also share the XP .
In the fight against the zombies, all group members who are nearby receive shared XP when a zombie dies.
Accept quests, share them & get great loot
Up until Alpha 19, the quests in 7 Days to Die were somewhat rudimentary. That has changed with the new Alpha 20! You can now go to the merchant, talk to him and get quests . If you accept them, you can even share the quests with other players . To do this, you have to click on your quest menu, select the quest and then click on the "Share group" symbol. In the same quest menu, your fellow players have to accept this quest and then you can get started. When the task is completed, all you have to do is go to the merchant and collect your reward .
Extra tip: Loot the area where the quest takes place before you start the quest. The area will then reset and you can get double the loot!
Preventing the Collapse of Buildings
7 Days to Die uses physics , which means that if you don't build within the "laws", your buildings will collapse and can kill players . It's the same in mining ; if you dig too wide and too high, the ceiling will eventually fall down. You have to be particularly careful with sand. You can find more detailed information in this article .
crafting vehicles
Vehicles are expensive and can only be built after some time has passed, once you have learned the "mechanic" skill and found or built the required parts. However, they are very useful for looting tours, as they not only get you ahead faster , but also have additional storage space .
If you are traveling with the vehicle and don't want to pick it up somewhere else if you die, then it's best to put it in a slot (hold down E). Provided your server is set up so that your loot is not lost when you die .
Finding high-quality items
Unfortunately, there isn't much good loot to be found at the beginning, but that can quickly change when you unlock the "The Lucky Collector" ability . The higher you level, the better quality the loot is.
A little tip: We found some really good items on the roofs of some buildings on our server.
Finding good weapons and ammunition
In order to defend yourself properly against the zombies, you need strong weapons and enough ammunition. In addition to the sometimes laborious crafting, there is also the possibility of finding good means of defense. You will find them in particular in weapon safes (can be opened with lock picks), supply loot via supply planes or treasure maps (which you should also find and read from time to time), but the merchant also has good stuff these days.
Surviving the First Blood Moon
It can happen that you don't get your base ready for the next blood moon. So that all is not lost and you don't bring ruin to your house and farm, you can dig a tunnel into the ground and build a shelter . There you can put your sleeping bags, eat food and simply wait out the blood moon. It might not be the whole point and you might lose some XP, but this tip is for extreme emergencies and only for the first blood moons !
