
Embroidering Bags and Tote Bags with Cross-Stitch – Creative DIY Ideas with Tutorial
Whether as a gift, a sustainable accessory, or a statement piece – embroidering bags and tote bags with cross-stitch is incredibly trendy right now. With just a few simple steps, you can turn a plain bag into a personal favorite.
In this tutorial, we’ll show you step by step how to embroider cross-stitch on bags, which materials you need, and what to pay attention to depending on the fabric type.
Why Cross-Stitch Is Perfect for Bags and Totes
Cross-stitch is durable, long-lasting, and highly detailed – ideal for fabrics you use often.
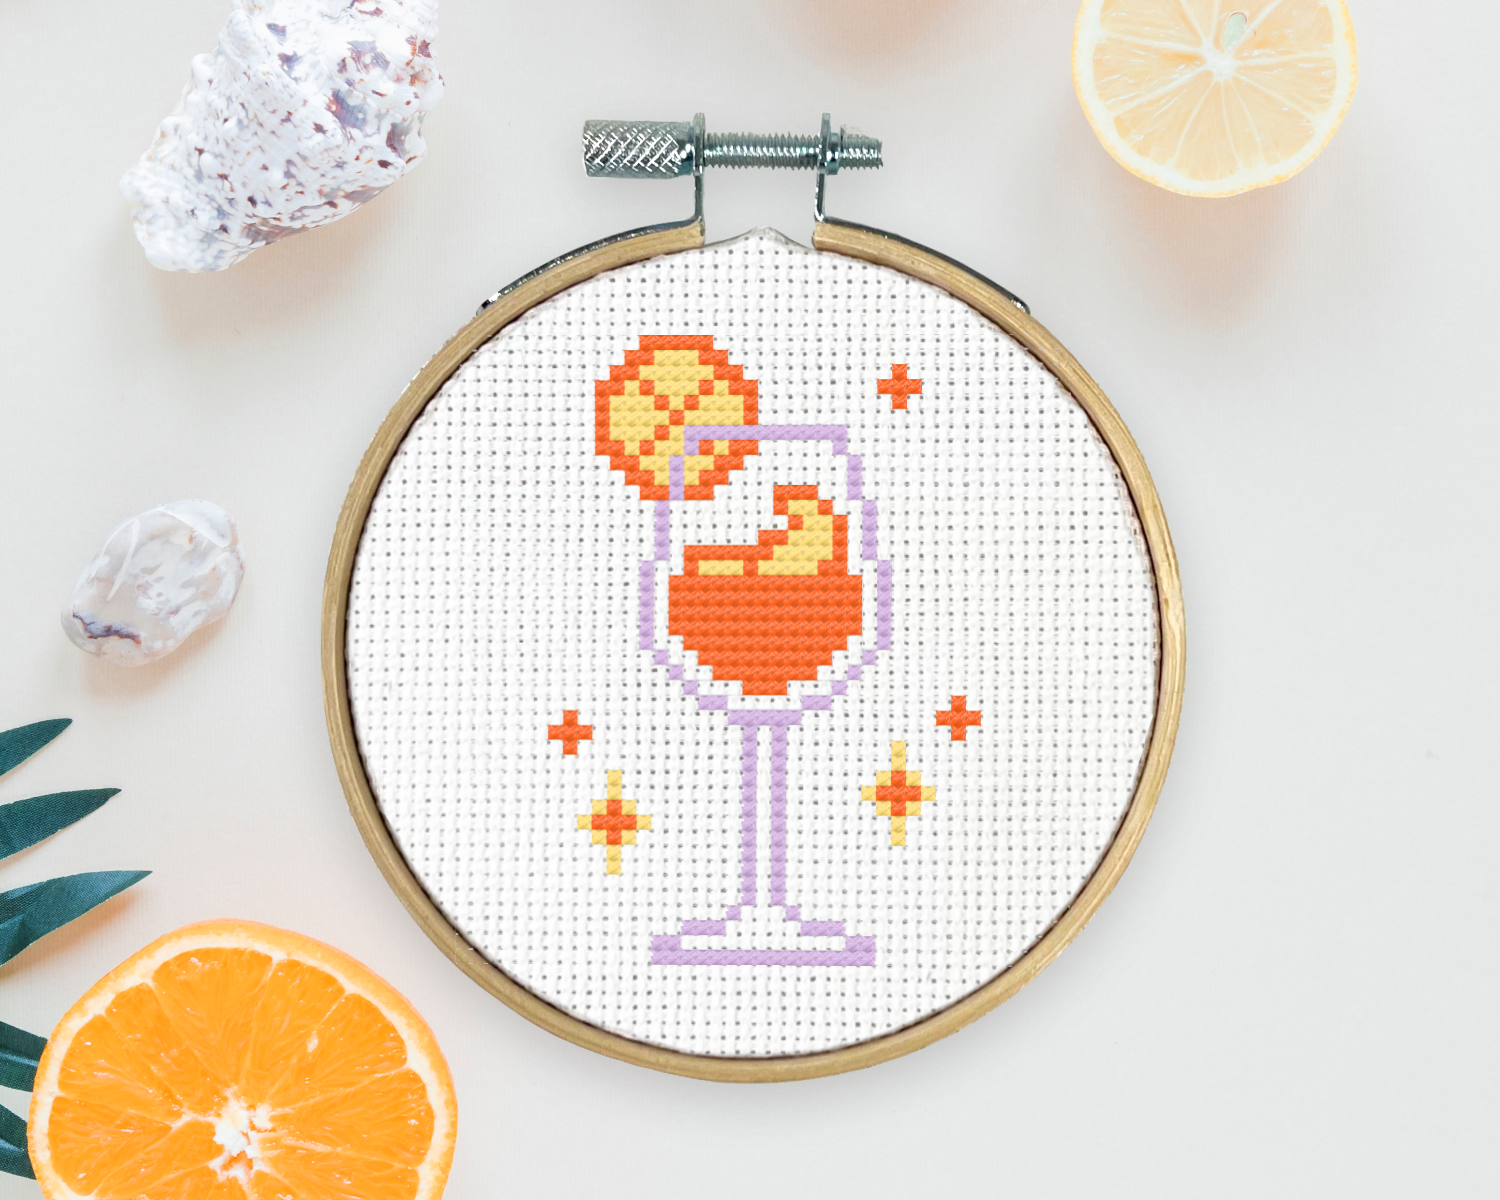
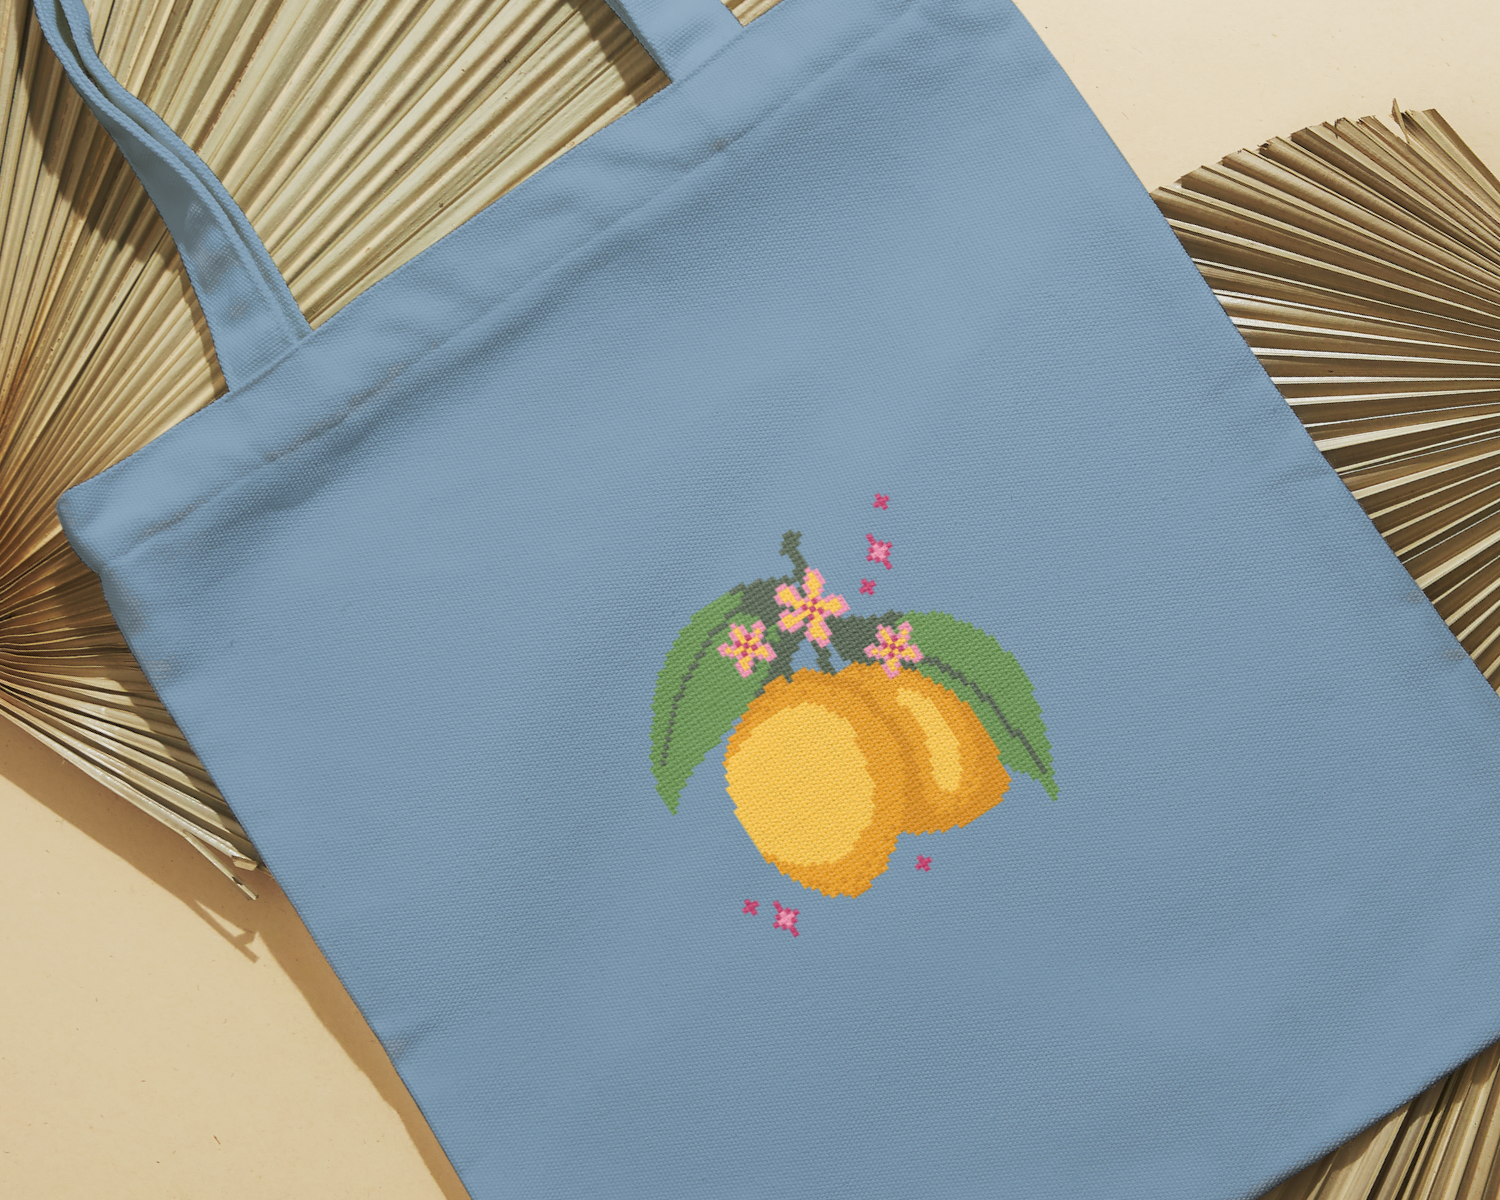
Especially on canvas bags, cotton totes, or linen pouches, cross-stitch holds extremely well and adds a personal touch: from minimalist patterns to colorful lettering.
Additionally:
👉 Cross-stitch is easy to count and place symmetrically – perfect for geometric designs, monograms, or small illustrations.
Materials for Cross-Stitch on Bags
Before you start, gather the following materials:
-
Embroidery thread (e.g., cotton or mouliné thread)
-
Embroidery hoop matching your motif
-
Embroidery needle with a blunt tip
-
Waste canvas for even stitches
-
Pattern/template
-
Scissors, pins, or basting thread
-
Water-soluble marker (optional)
Tip: Bags are often thicker than clothing – so a sturdy needle and strong thread (e.g., from DMC) help keep your stitches neat and even.
Step-by-Step Guide: Cross-Stitch on Tote Bags or Fabric Bags
🪡 1. Choose your motif
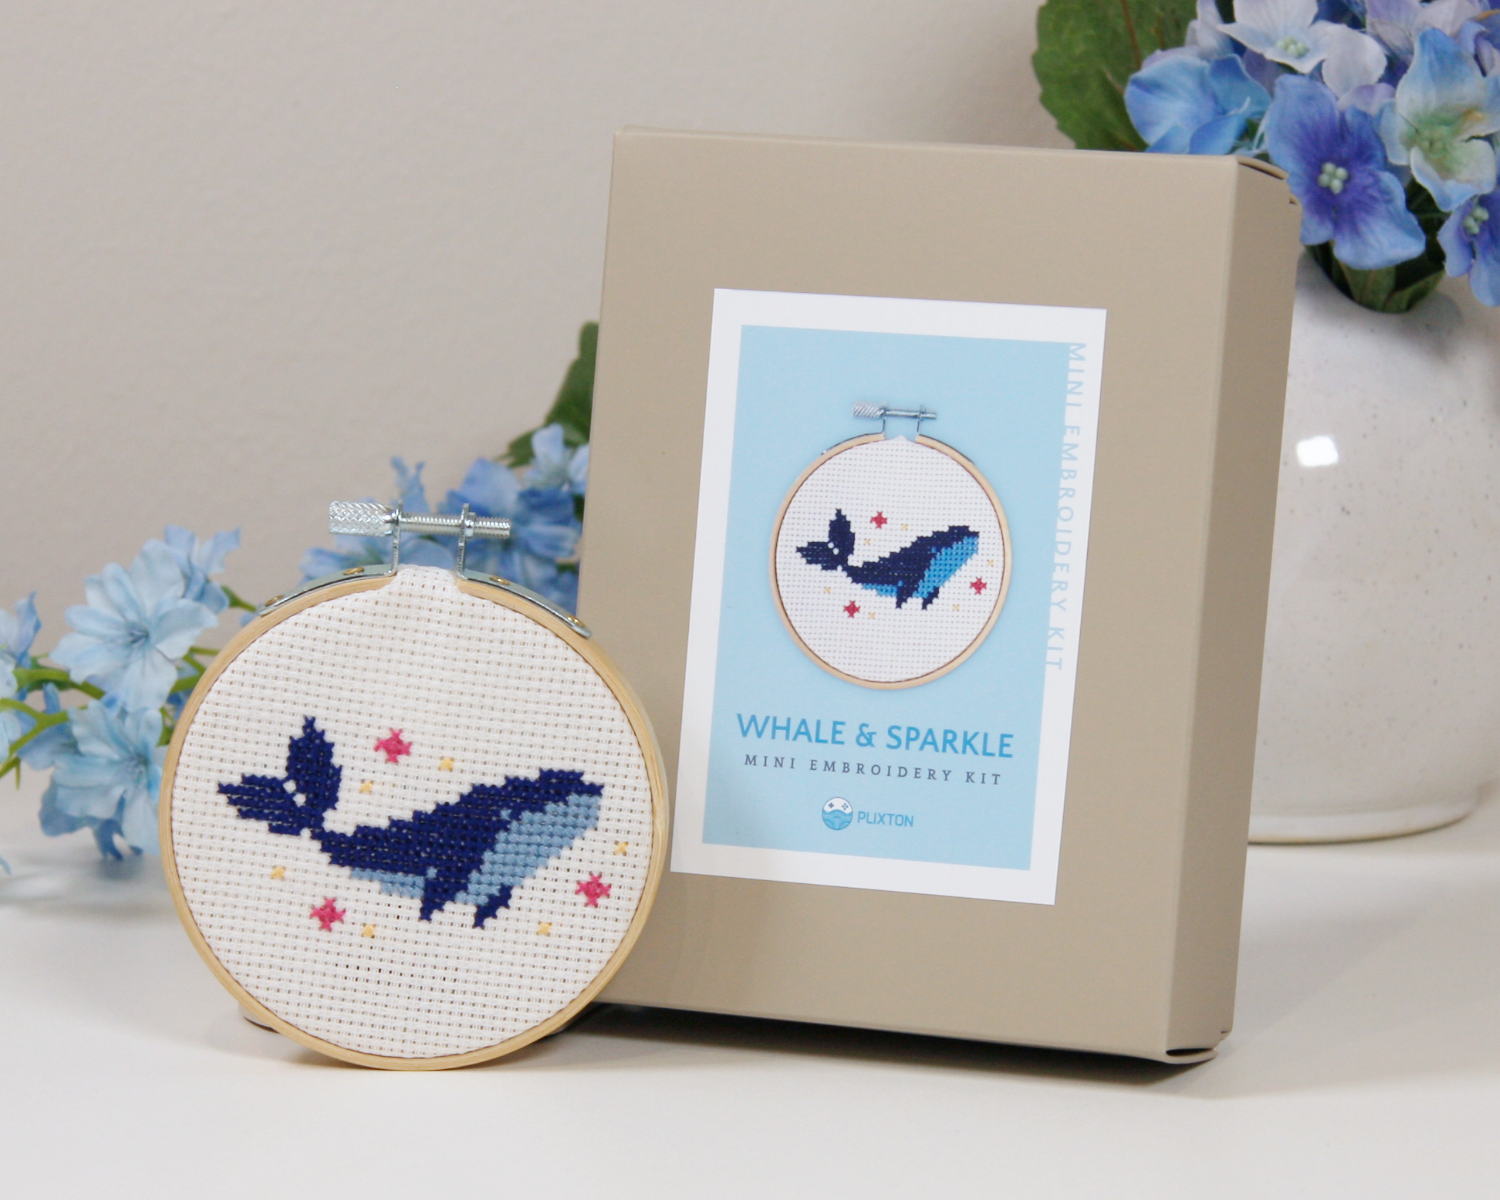
Pick a motif that fits the size of your fabric. Lettering, small flowers, or geometric shapes work especially well.
Feel free to check out our shop for beautiful motifs that look great on bags.
🧵 2. Prepare the waste canvas
Place the waste canvas on the spot where you want to embroider.
Secure it with basting stitches or pins so it doesn’t shift while stitching.
Or clamp both fabrics into an embroidery hoop—both layers must be tight.
The waste canvas acts as a counting grid, ensuring even stitches on coarse or uneven fabrics.
✂️ 3. Start stitching
Thread your needle and begin cross-stitching.
Stitch through the canvas and the fabric, always diagonally—first all stitches in one direction, then in the other.
With waste canvas, always stitch through the small holes; the large holes are only for orientation.
Tip: Keep your thread evenly tensioned to create clean, flat stitches.
💧 4. Remove the waste canvas
Once your motif is finished, gently pull out the individual threads with tweezers—leaving only your stitched design on the bag!
🌿 5. Finishing touches
Iron the stitched area from the back (use a cloth in between) so the stitches settle nicely.
If you like, you can reinforce the inside with a small piece of fabric to protect the back of your embroidery during washing.
Caring for Your Embroidered Bag
To keep your design looking great:
-
Wash the bag inside out, ideally by hand or in a laundry bag
-
Avoid the dryer; air-dry instead
-
If ironing is needed, do so from the back
-
Carefully tighten any loose stitches if they wear over time
Conclusion: From Plain to Unique
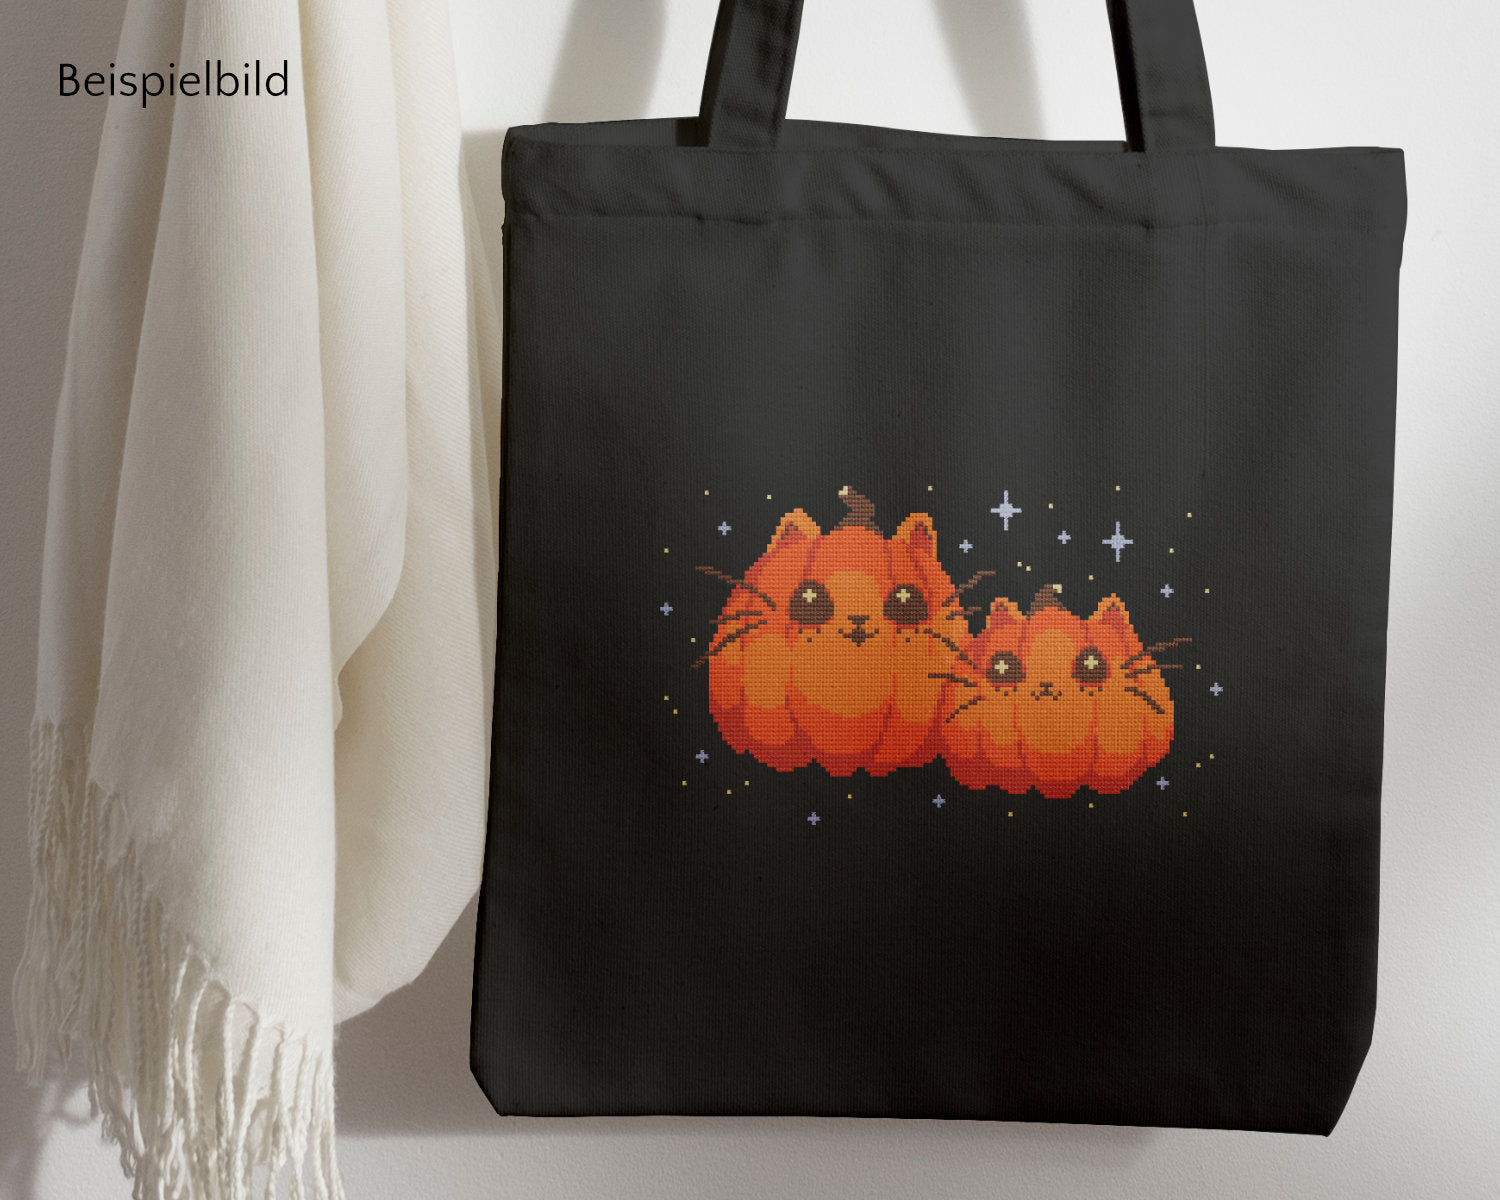
A simple tote bag becomes a real eye-catcher with cross-stitch.
Using waste canvas helps you achieve precise stitching—even on sturdy fabrics.
Whether as a gift, a statement, or a sustainable fashion project: cross-stitching on bags lets you create something as unique as you are.
