Cleaning the GameBoy Pocket - Without Much Effort
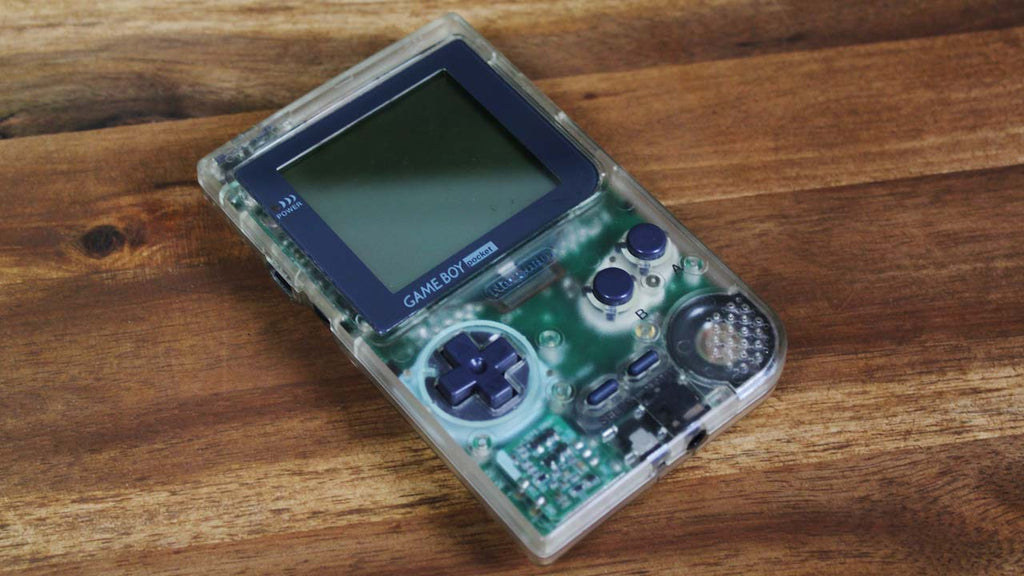
My last flea market haul included a slightly dirty GameBoy Pocket . Since I had to clean it up anyway, I've put together a step-by-step guide to help you clean your own GameBoy Pocket !


1. Assessment & material procurement
The first thing to do is to see what exactly needs to be removed from the Game Boy Pocket . In this case, I had to deal with a blue marker , an old sticker and general grind . The latter is unavoidable and can be found on any used device - especially controllers.
To remove the three components of dirt mentioned above, I have set aside the following:
all-purpose cleaner
baking soda
glass cleaner
white spirit
cotton swabs
toothbrush
towels
screwdriver Y-Type / Tri-Wing
Phillips screwdriver

2. Unscrew and disassemble into individual parts
After a while, dirt naturally gets into the Game Boy's interior through the grooves and holes, and to get to it, the casing has to be unscrewed . First, start by removing the 6 screws on the back (four directly on the outside, two are under the battery compartment cover) with a Y-type or Tri-Wing screwdriver . This part of the Game Boy comes off the rest without much effort. Be careful: the power switch sits loosely on top!
The front is now connected to the main board . The 3 screws in the lower half are clearly visible through the white circles . These are attached using a normal screwdriver with a Phillips head .
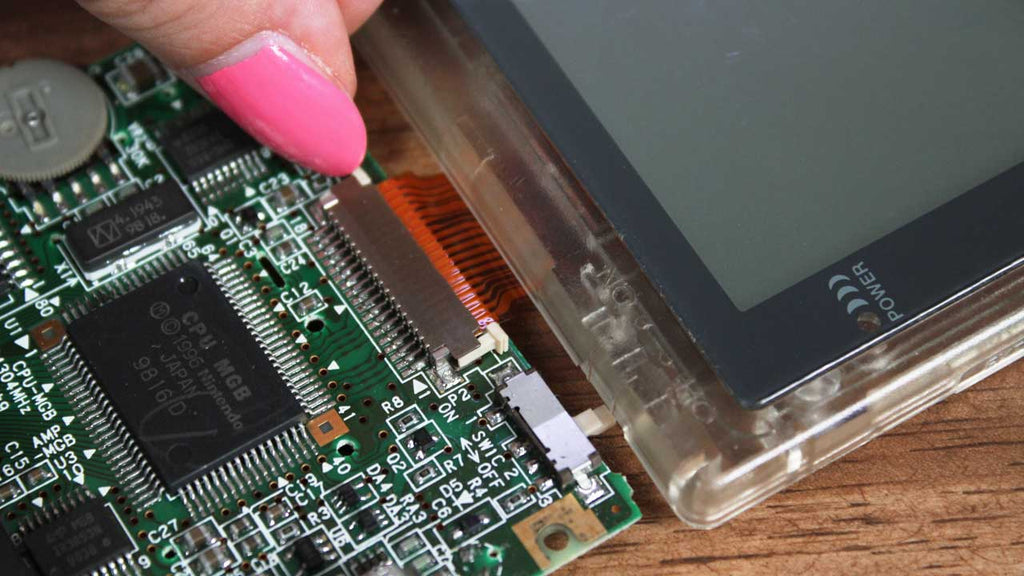
After these have been removed, both parts are still connected with a ribbon cable . All you have to do is push the two clips on the right and left upwards and carefully pull out the contact. Just don't pull on it!
Now you have three large and lots of small parts in front of you. The buttons and rubber surfaces are loosely in the front and can be easily removed . Now you can start cleaning!



3. Cleaning the Game Boy Pocket
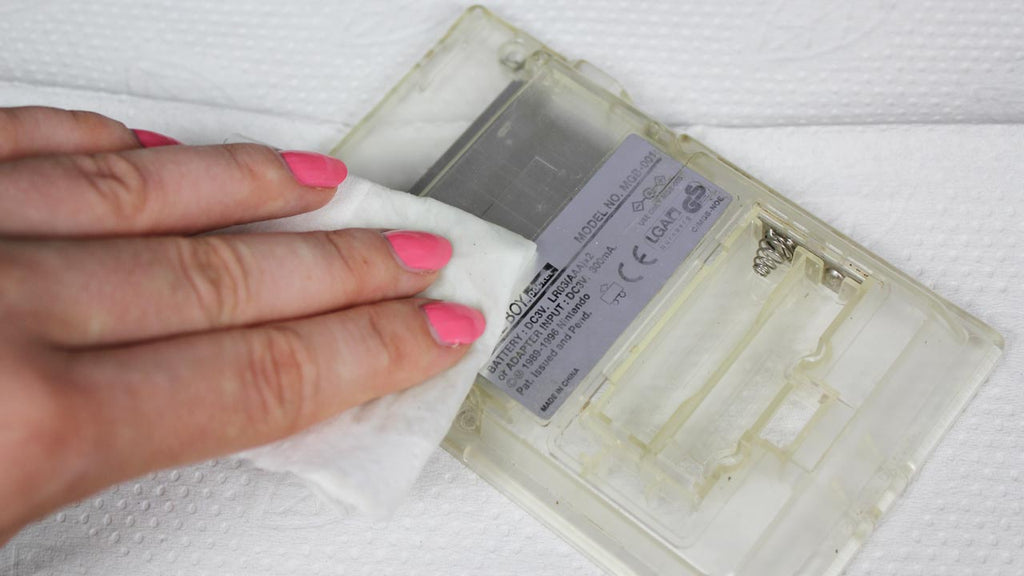
I started with the casing and gave everything a rough clean with glass cleaner . I also briefly held the back under the tap, but only let the plastic part get wet. I'll mention it briefly, even though it should be obvious: under no circumstances should you put any electronic components in water!
To get into the cracks a little better and to clean the surface even better, I mixed baking soda and water in a small container to make a paste . You don't need much and just put a little bit of the paste on an old, discarded toothbrush . Rub the baking soda in with the toothbrush in circular movements . Then just wash it off with a damp cloth or some running water.
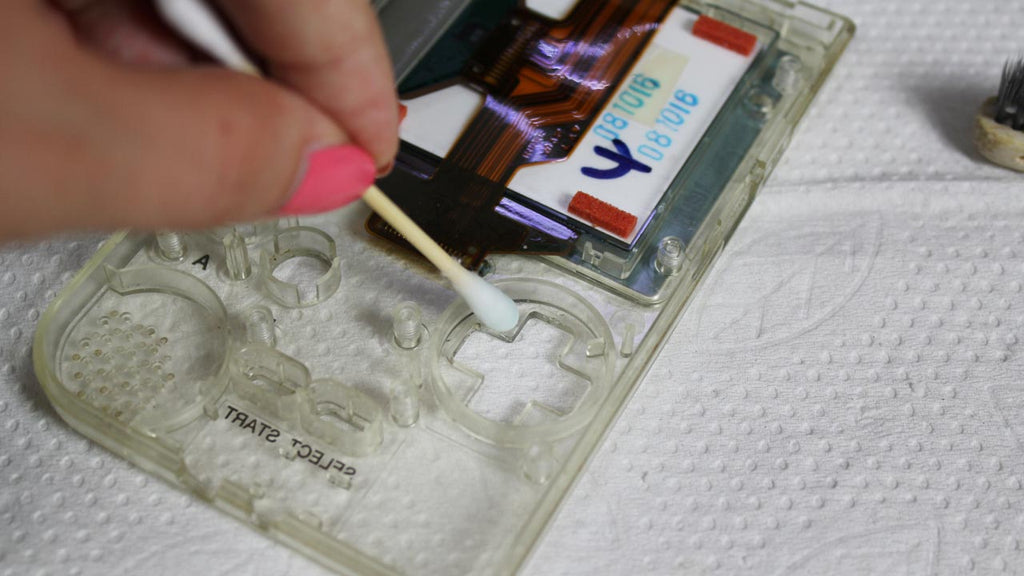
Because you are constantly holding it in your hands, a lot of dirt and particles get stuck in the grooves . All you need is a cotton swab soaked in a little glass cleaner and then a little pressure to get rid of the dirt.
The whole cleaning doesn't just affect the casing inside and out. The main board also needs to shine like new again. You can also remove dust and dirt with the small sticks and a little cleaning solvent . Especially where the loudspeaker is.
I also cleaned the buttons and control pad with cotton swabs, a cloth and glass cleaner .
Heavier dirt , such as stickers and permanent markers, requires a little more intensive attention. You can carefully scratch and rub off stickers with your fingernail and cleaning solvent. I got rid of the Nintendo lettering that was painted with permanent markers using a cotton swab and cleaning solvent .



4. Screw everything together
Now everything has to be nice and clean again. Please don't be disappointed if everything doesn't look brand new, after all the devices are a few years old. But at least you can play games again without worrying about old germs . Those from you or your predecessors.
To put everything back together , you simply have to put the buttons, control pad and the corresponding rubbers back in. Connect the main board to the ribbon cable and press down the two clips. Tighten the three screws - visible by the circled openings - with the appropriate Phillips head. Insert the power button correctly at the top and put the rear cover on. Fasten the six remaining screws, put in the batteries and put the battery compartment cover on. Done!

I wish you lots of fun and success with the instructions and hope that I was able to help one or two people clean their Gameboy Pocket !
Francy


